When it comes to interior house painting projects, achieving clean, precise edges is essential for a professional finish. While many people rely on painter’s tape to get those perfect lines, painting edges without tape can be the better option. In this comprehensive guide, we’ll walk you through the step-by-step process of achieving flawless edges for your painting project.
The Downsides of Using Tape
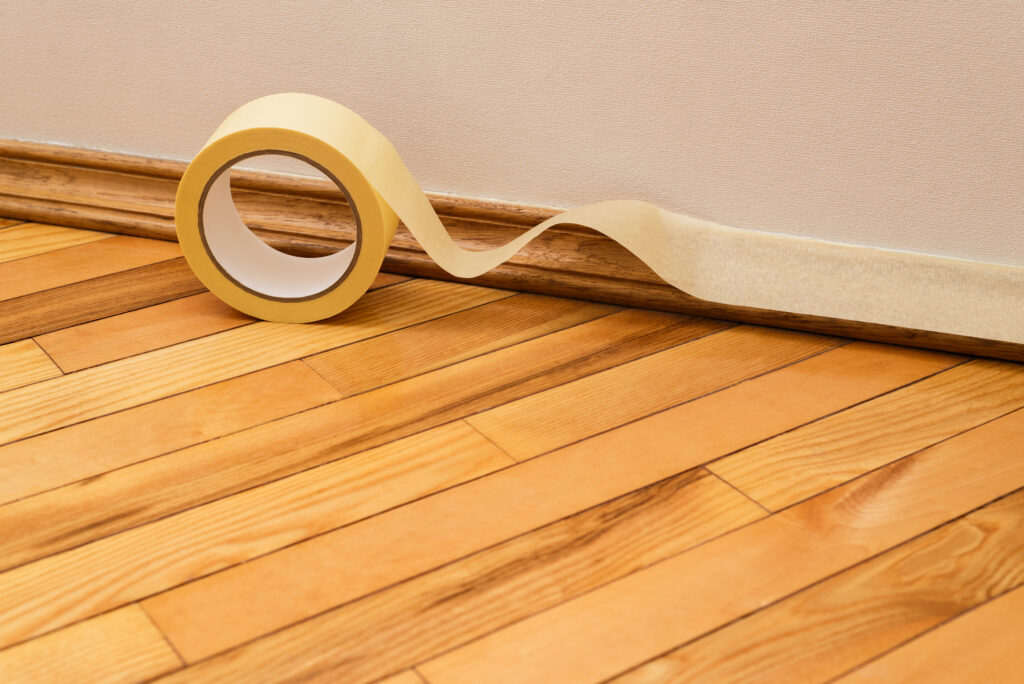
Before we delve into the alternative method, let’s consider the limitations of using painter’s tape. Firstly, achieving perfectly straight lines can be difficult, especially on textured surfaces. Even a slight mistake in taping can result in wavy or uneven paint lines.
Secondly, the cost of tape can add up quickly, and it creates unnecessary waste, making it a less eco-friendly option. Moreover, taping is time-consuming, from application to removal. Paint can also bleed underneath the tape, leaving you with touch-up work and the hassle of dealing with tape residue or peeled paint.

Why Paint Edges Free-Hand
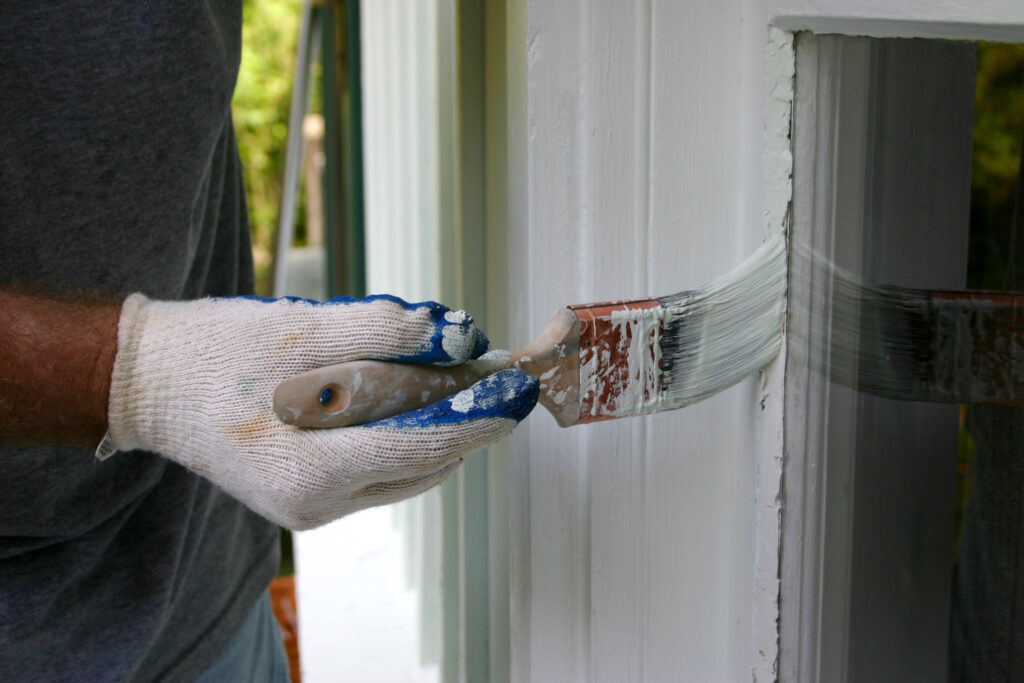
The best way to paint edges without tape involves free-handing with a high-quality angled brush and a steady hand. This technique, known as “cutting in,” allows you to paint straight lines without the need for tape. It’s faster, more precise, and offers better control over your lines.
While it might sound intimidating, even novice painters can master this method with practice and the right tools. You’ll find it more efficient than taping, priming, painting, and removing tape, not to mention the added advantage of not having to deal with tape-related issues.
Painting Edges Without Tape: A Step-by-Step Guide
Before you start painting, ensure your edges are clean and smooth by lightly sanding them. Here’s a step-by-step approach to achieve perfect edges without tape:
1. Use a High-Quality Paint Brush for Cutting-in
The key to a successful paint job without tape lies in your choice of brush. Invest in a professional-grade angled brush designed for cutting in. Avoid natural bristle brushes with latex paint; opt for an angled brush with stiff bristles made of a nylon/polyester blend for water-based wall paint. Brands like Purdy, Corona, and Wooster offer excellent options for achieving razor-sharp lines.
2. Follow a Two-Step Process for Crisp Edges
To achieve crisp lines, use a two-step process. Start by applying paint about half an inch away from the edge, creating a rough boundary. Avoid trying to create a perfect line during this initial pass to prevent uneven lines or paint buildup. For the second coat, work the paint directly into the edge, filling any gaps and sharpening your line. This method allows you to perfect the line without tape removal or touch-ups.
3. Choose High-Quality Paint for Easy Edging
The quality of paint you use plays a significant role in achieving clean edges. Low-quality paints can be thick and challenging to spread, leading to brush dragging and uneven lines. Switch to premium paints like Duration Home from Sherwin Williams or Regal Select from Benjamin Moore. These paints spread smoothly, reduce the risk of gumming up your brush, and require fewer coats, ensuring a consistent finish.

4. Mark a Line for Challenging Ceiling Edges
Dealing with ceiling edges can be tricky, especially when the wall and ceiling share the same color. To address this, mark a line along the edge using a pencil or the corner of a putty knife before you start painting. This marked line serves as a guide, ensuring precision in your work. You’ll need adequate lighting while painting so you’ll be able to see clearly and follow the line you marked.
5. Use Paint Conditioner to Thin Your Paint
While thinning paint can make it easier to work with, adding water to water-based paints can compromise their quality. Instead, use paint conditioner to achieve the right consistency without sacrificing paint integrity. Follow the manufacturer’s guidelines for the correct proportion of conditioner to paint, ensuring an even application. Before committing to your edges, conduct a test patch in a less visible area to ensure the paint’s consistency and drying meet your satisfaction.
Final Thoughts on Painting Edges Without Tape
By following our step-by-step guide, you can achieve flawless edges without the hassle of painter’s tape, saving time, money, and reducing waste while achieving professional-quality results. So, the next time you start a painting project, consider free-handing your edges for a more efficient and precise outcome.
At J&B Painting, we understand that while free-handing edges can be a great DIY option, there are times when you might prefer the expertise of professional interior house painters. Our team of experienced painters is dedicated to delivering top-quality results and ensuring a hassle-free painting experience for you. With over 3,500 completed projects, we take pride in being the trusted choice for residential and commercial painting services in the Greater Michigan area.
Call us today at 248-629-2458 for a free consultation. Let us transform your space and exceed your expectations!


